Create Greatness
Our simple design tool makes it easy to transform your ideas into reality. Just follow this quick guide, and soon you'll have a range of custom products ready to enchant your customers and bring your team together.
1.
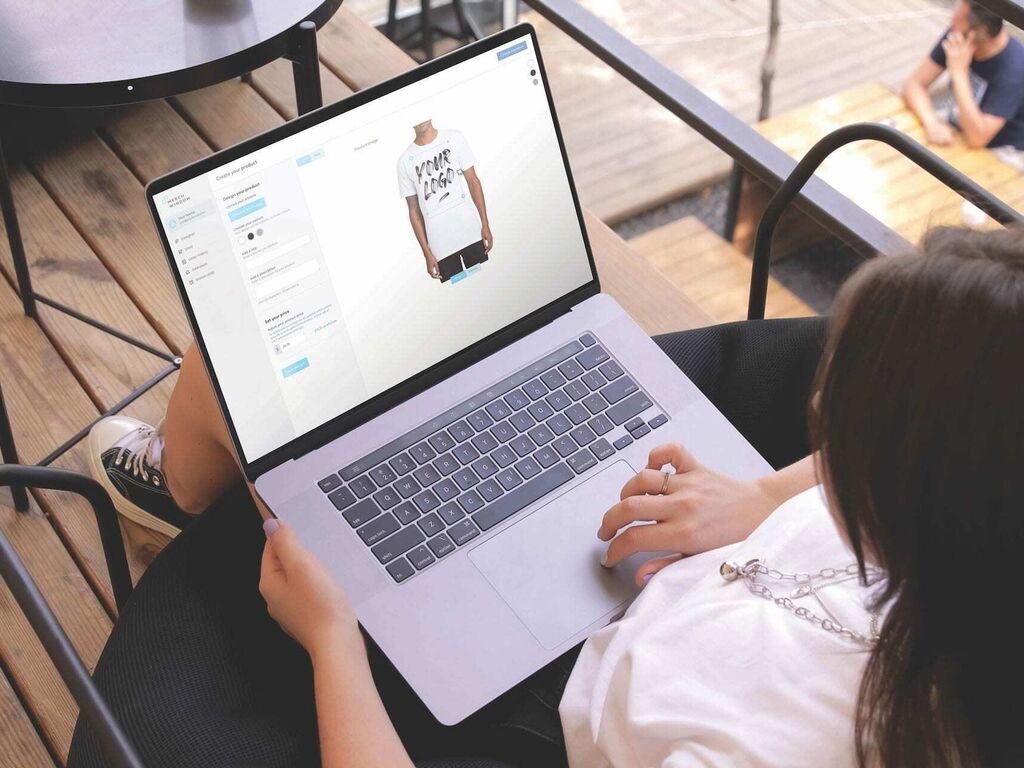
Let's get started! In your dashboard, select 'Designer' from the main menu on the left.

2.
What would you like your design to be printed on? Select the product you wish to customise.

3.
‘Choose an image’ and upload your epic design. It'll resize by default to fit the width of the printable area.
Image quality is a huge part of making sure the final product is the best it can be.
Follow this checklist to create a fantastic product:
- Only upload .svg (preferable) or .png files
- Image resolution should be 300dpi
- The dimensions of the image should be no smaller than the desired finished size
- If you're uploading an .svg file, make sure you outline all shapes and typefaces/fonts to make sure everything displays correctly
- If you're seeing blocks of colour that shouldn't be there, check your files for objects that might've been 'hidden' and delete them before uploading again
If you're waving your arms in the air and need a hand, no problem!
Our skilled team of design experts are ready to help you. Just get in touch and we'll make a time to find a solution.

4.
Not happy with the default? Position and scale your artwork within the printable area using the blue toggles around the image.

5.
For products that feature additional placements, use the buttons at the top of the design tool to switch views.

6.
On the left, in the main menu, choose the base colours you'd like to have available for your product.
To switch the preview colour, use the swatches to the right of the window.

7.
Add a title and description for your product. Stuck for ideas? You might like to describe the design itself as a title.

8.
Set your price! Your sale price is completely at your discretion, and you will see a live update on the profit you will make for each sale right next to the entry field.
Our secure payment gateway, Stripe, is configured to pay profits directly to you. This means that, whenever a customer makes a purchase in your store, Stripe will send us the production costs and shipping fees associated with the purchased products, while the profits according to the margin you've set are sent directly to you.
Make sure you've connected Stripe in your store setup or profits will be forfeited.
Of course! However, so that you don't pay the retail price including the profit margin you've set, simply head to your dashboard and use the cart icon on the product(s) you'd like to buy to add them to your cart. This way you'll only pay the wholesale price, with the shipping fee added at checkout.

9.
Happy with how it looks? Hit save to make sure it stays in your account.
If you've already created a storefront, it'll already be there and immediately available for customers to purchase. Nice!

A bit stuck?
As a Merch Window account holder, you're entitled to free help from one of our experts.
Get in touch - your free Merch Window Design Concierge is ready to assist!